
Access event attendee data
Once your event is over, you can download or share a file of your attendee data, such as names and answers to additional questions.
Before you get started
Video Overview
Walkthrough
Before you get started
Video Overview
Walkthrough
Before you get started
Video Overview
Walkthrough
Before You Get Started
- Have you already built an Event Ticketing page?
Video Overview
Walkthrough
Access event attendee data
Attendee data from your event can be downloaded as a CSV (comma-separated values) file. The data set will include your attendees' first and last names, tickets purchased and answers to any additional questions you asked during checkout.
To download a CSV:
- Log in to the Nonprofit Admin Portal and click the “Event Ticketing” link in the left-hand navigation bar.
- Select the event whose data you would like to download as a CSV. Take note of the “Upcoming” and “Past” tabs to choose among future and past events, respectively. If needed, use the search tool to pull up results only within a tab. Search results will include the desired term, whether it is all or part of a word or phrase in the event name or slug.
- Click the “Manage” button to the right of the event link.
- Scroll down the next page until you see "Export Attendee Data" on the right.
- Click the "Export" button.
This leads to two possible scenarios:
- For any requested report with fewer than 1,000 charges, the download will begin automatically a few moments later.
- For any requested report with 1,000 or more charges, a popup alert will advise that the report can be downloaded via an email once the report is ready. This email will be sent to the address associated with the Nonprofit Admin Portal user account. Each report will be available for 72 hours from the time the email is sent; if that time expires, a new export must be launched.
Use the "Shareable CSV" feature
As an alternative to a downloaded CSV, a shareable CSV makes it possible for multiple people to see your event data via a URL. The data is refreshed every minute and access can be revoked (see below) at any time.
A key benefit of this feature is the ability to import the data from the URL into a spreadsheet, like Google Sheet, which updates hourly. This eliminates the need to download a new CSV every time new event data is captured.
To set up a shareable CSV link
- Log in to the Nonprofit Admin Portal and click the “Event Ticketing” link in the left-hand navigation bar.
- Select the event whose data you would like to have available as a shareable CSV. Take note of the “Upcoming” and “Past” tabs to choose among future and past events, respectively. If needed, use the search tool to pull up results only within a tab. Search results will include the desired term, whether it is all or part of a word or phrase in the event name or slug.
- Click the “Manage” button to the right of the event link.
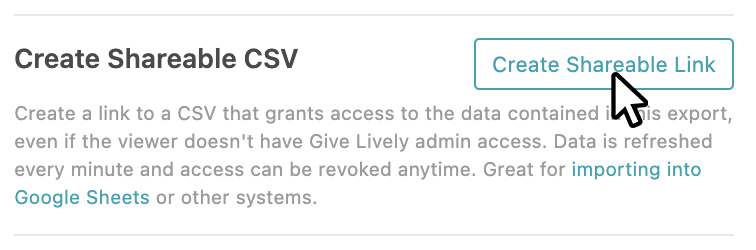
- Scroll down the next page until you see “Create Shareable CSV" on the right.
- Click the “Create Shareable Link" button.
- Copy the link.
- Share as needed.
To create a self-updating Google Sheet containing the data from the shareable CSV
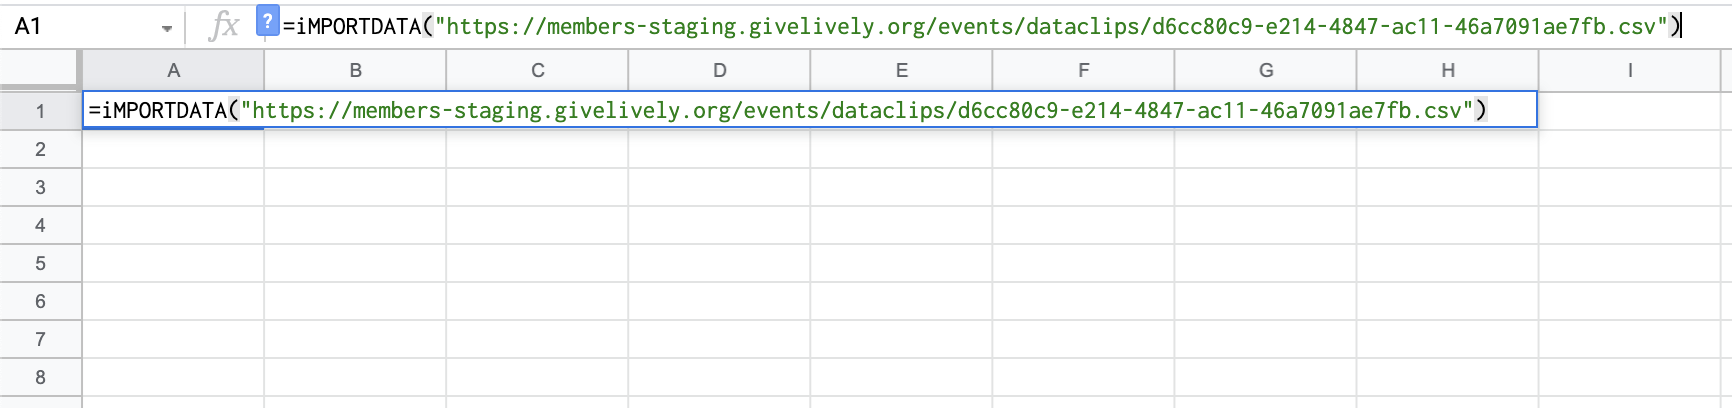
- Create a new Google Sheet.
- Copy this function into the first cell:
=IMPORTDATA("URL COPIED FROM ADMIN PORTAL”)
For additional details, see Google’s instructions here.
To revoke access to the shareable CSV
- Log in to the Nonprofit Admin Portal and click the “Event Ticketing” link in the left-hand navigation bar.
- Find your event and click the "Manage" button next to that event.
- Scroll down the next page until you see “Shareable CSV Link" on the right.
- Click the “Revoke Access" button.
