
Test a Salesforce integration (for Salesforce consultants)
What consultants need to know and do to integrate Give Lively with Salesforce.
Before you get started
Video Overview
Walkthrough
Before you get started
Video Overview
Walkthrough
Before you get started
Video Overview
Walkthrough
Before You Get Started
With the exception of brand new Salesforce orgs, we highly recommend that all member organizations go through our testing flow to connect a sandbox to our staging environment so that we can sync test donations to the org. This way, you have the chance to review our logic first-hand and make updates to any settings as needed before going live. This ensures a seamless integration in production.
Be sure to complete the steps to install and configure the Give Lively for Salesforce app before proceeding. Consultants should be aware that new Give Lively logins must be unique, so we advise using a unique email address when you fill out the assistance request form linked in the article above. Also, make sure you check the box to indicate that you are a consultant.
Video Overview
Walkthrough
Testing the integration
- Once you have installed the Give Lively for Salesforce app and connected it with your Give Lively sandbox account, please do the following to check that the integration has successfully connected:
+ Log in to the Nonprofit Admin Portal.
+ Click “Settings” in the left-hand navigation bar.
+ Select “Organization Settings” from the dropdown that opens up.
+ Select “Integrations” from the menu on the left.
+ If you see a "Connect with Salesforce" button in the Salesforce section, click it. If you see a "Settings and Logs" button, you are already connected. - While we will automatically create a Salesforce Campaign for your Give Lively campaign donations, we advise that you review and customize a select few Donation/Opportunity record settings. To do this:
+ Log in to the Nonprofit Admin Portal.
+ Click “Settings” in the left-hand navigation bar.
+ Select “Organization Settings” from the dropdown that opens up.
+ Click “Integrations” from the menu on the left.
+ Click the “Settings and Logs” button in the Salesforce section.
+ Refer to this article for help with app configuration and settings. - Once the mapping settings are selected, you can create your own Give Lively campaigns and events within the test account.
- If you would like to see how donations will sync to Salesforce, navigate to one of your new Campaign Pages or Event Ticketing pages and make a test donation. You can use our test credit card number '4242 4242 4242 4242' alongside any name, valid future expiration date and security code.
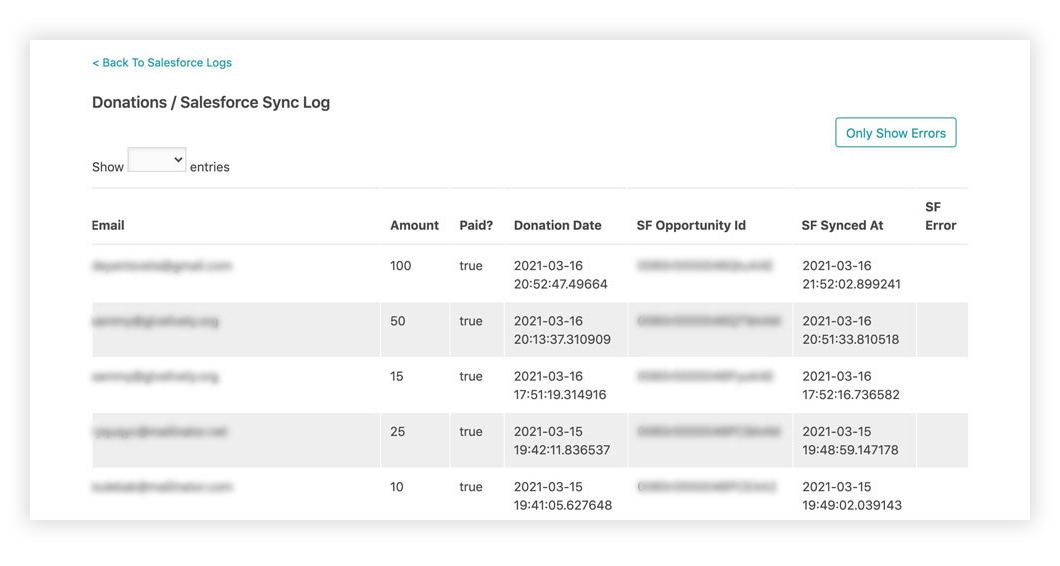
- You can check to see if Opportunities successfully synced in Give Lively's Salesforce log section. You can also see any identified error messages.
- The Salesforce integration can be configured to sync records every hour at half past the hour (e.g. 1:30, 2:30 etc.), or you can trigger manual data syncs from the "Salesforce Home" tab. Any sync errors are reported in the donation sync logs, so feel free to make adjustments in your Salesforce settings to resolve them.
Integrating with your production org
Once you have checked the test integration and are ready to move forward with integration on production, please have your client confirm that we can provide you with a login in their Give Lively production accounts. The client can provide this confirmation in an email to the Salesforce for Give Lively support team or you can send a screenshot with their confirmation.
To finalize the integration on production, please follow these steps:
- Ensure that the connecting user has all of these permissions and settings enabled.
- Install the Give Lively for Salesforce app via this link.
- Log in to the Nonprofit Admin Portal and visit secure.givelively.org/salesforce.
- Click "Connect to Salesforce”.
- To review sync logs and to control data mapping settings:
+ Within the Nonprofit Admin Portal, click “Settings” in the left-hand navigation bar.
+ Select “Organization Settings” from the dropdown that opens up.
+ Select “Integrations” from the menu on the left.
+ Click the “Settings and Logs” button in the Salesforce section. - Note that all historical Give Lively donations will sync into Salesforce once you enable the integration, unless exempted using the "Sync records from:" feature on the Salesforce Home page.
